How to do a simple bootstrap landing page from Scratch - Part 3
Ok in out previous Part 1 and Part 2 of How to do a simple bootstrap landing page from Scratch, we have so far added a base file, bootstrap, jquery, top nav, hero image and hero text.
Time to add some boxes to this landing page. Every landing page needs three boxes, doesn’t it? Well apparently this one does, so lets add them.
Let’s add some boxes.
Bootstrap will do all the heavy lifting for box styles using the card class and the bootstrap grid to align them in a row.
Add a container
This acts like a wrap, making sure that the content does not go all the way to the edge of the screen so will keep our three boxes in the middle of the screen rather than going all over the place.
Then we will add the columns.
They will all be the same size so bootstrap will figure out the widths.
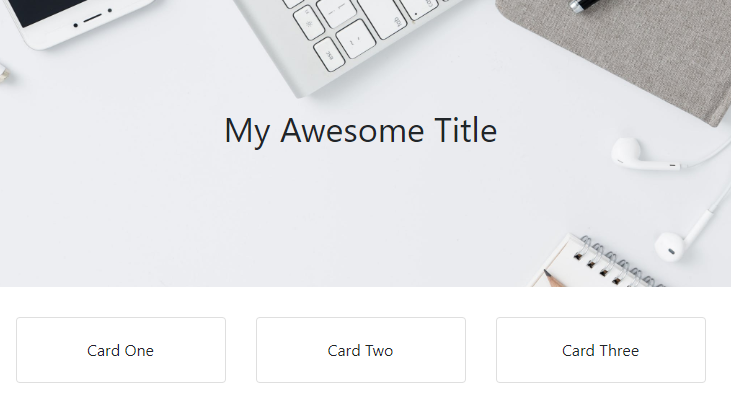
Let’s have a look and make sure it’s all looking ok so far.
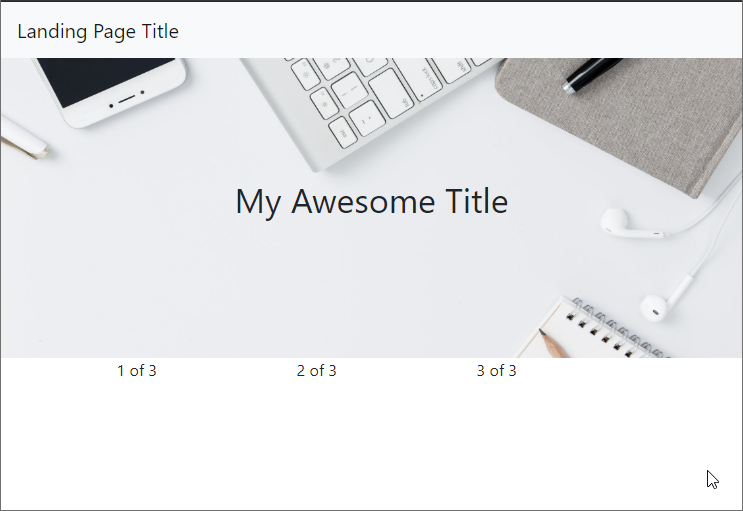
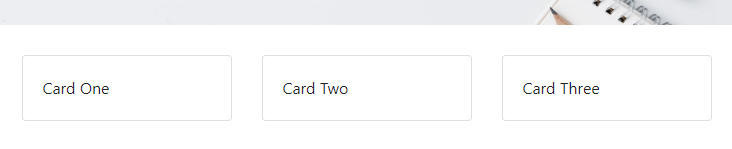
Looking ok so far, now to add the actual boxes, into the grid.
We can use the bootstrap card for this to give it a bit of a border and title.
Reload it again and see what the cards look like.

Yep cards look ok, just need to add some margin to the top there, or at the bottom of the hero image, to pad it out a bit.
Save and reload again to see if it looks good.
Yep looking better.
Now we need to add an action button to each card, and center the text.
Let’s add a class to cover all of our promo cards to easily center the text.
Add a style selector for this as well to the styles.
Looking a bit neater now.
Now to add some icons, we will use font awesome for this as they are fairly easy to add and have a ton of icons.
Installing Font Awesome
Once again to install font awesome we just need to head over to cdnjs and type in font awesome.
Then copy the link and paste into the header of our landing page. As its a css we should add this to the header. Copy the Link Tag and paste it under the existing bootstrap css.
Now the font awesome library is available, you can browse the icons available here. https://fontawesome.com/icons?d=gallery
Let’s pick some icons for our cards.
Click on the icon (on the font awesome website) and, up the top of the page there is a Copy HTML link.

Just click on that top copy the code to your clipboard.
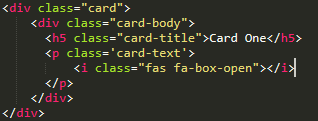
Just make a small change to the card and change the title to a h5 tag, so that the card has a nicer title.
Then underneath this we can past the icon.
Now to paste in the icon code.
Reload the landing page and see how it looks.
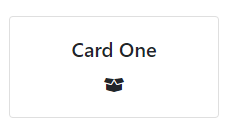
Not too bad, but the icon is a bit small. Add a class to the icon to make it larger, font awesome comes with built in classes to do this. Fa-2x, 3x, 4x, etc. Or you can change it with css, but we may as well just use the built in class. Try 4x and see what it looks like. Fa-4x
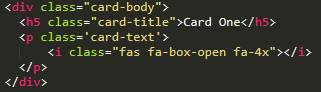
Now i think the icon looks a bit strange under the title so we will swap them, and make the icon a bit lighter in colour.
Change the class on the icon wrap, from card-text to card-icon and then add a css style for it.
Reload the landing page, and have a look.

Yep looks like a box.
As this is already a couple of pages long, ill end part 3 here. Not sure how many parts this will end up as, hopefully not too many. Will see at the end!
Files
You can look at my files so far here, if you want to see what it looks like, or just cheat and copy it! :)
Demo
I have uploaded a demo of the files so far, so you can see what it looks mid progress / or so far. Check out the demo so far here.